L298N motor driver – Stepper motor control
Introduction
Stepper motors find extensive applications across various fields, including textile machinery, printing presses, medical imaging devices, CNC machines, and many other types of equipment. However, effectively controlling stepper motors requires a comprehensive understanding because each machine often requires custom design and management. To address this challenge, a range of motor driver modules have been developed, enhancing the precision and control of DC motors through microcontrollers like the Arduino.
In this tutorial, we will demonstrate the interfacing of a stepper motor with L298N motor driver, using a development board.
The L298N Motor Driver module comprises an L298N Motor Driver IC and a 78M05 Voltage Regulator. The 78M05 Voltage Regulator activates only when a jumper is inserted. When the power source voltage is 12V or lower, the voltage regulator supplies power to the internal circuitry, and the 5V pin can be used as an output to power the microcontroller. In cases where the power supply voltage exceeds 12V, the jumper should be removed, and a separate 5V source must be connected to the 5V connector to power the internal circuitry.
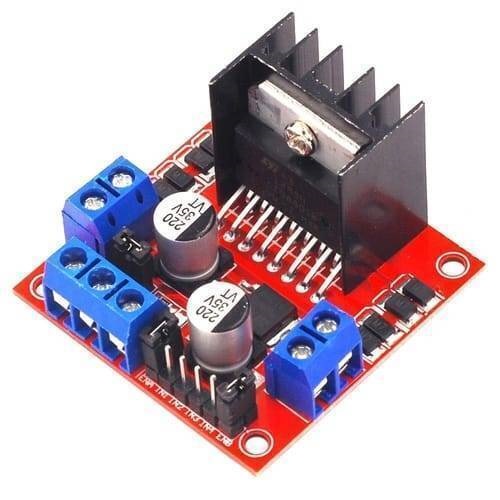
L298N stepper motor driver
Required hardware
| Name | Details | Image | Quantity | |
| Jade Uno+ GroundStudio | 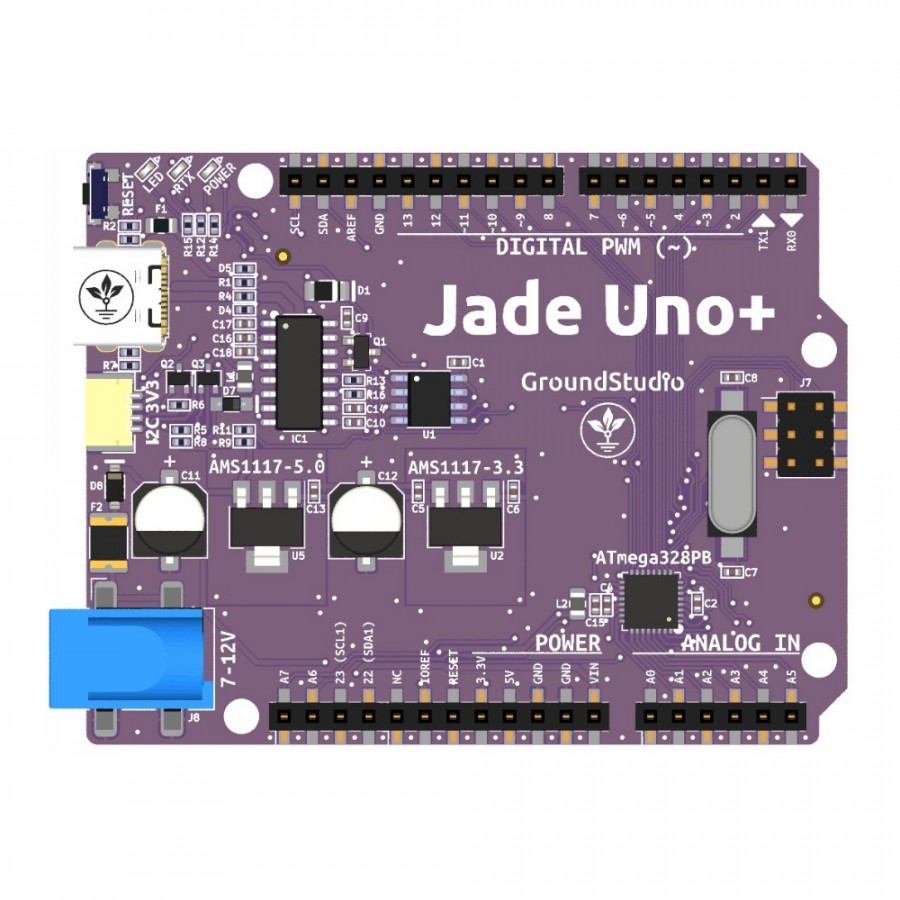 | 1 | ||
| USB cable | Type C | 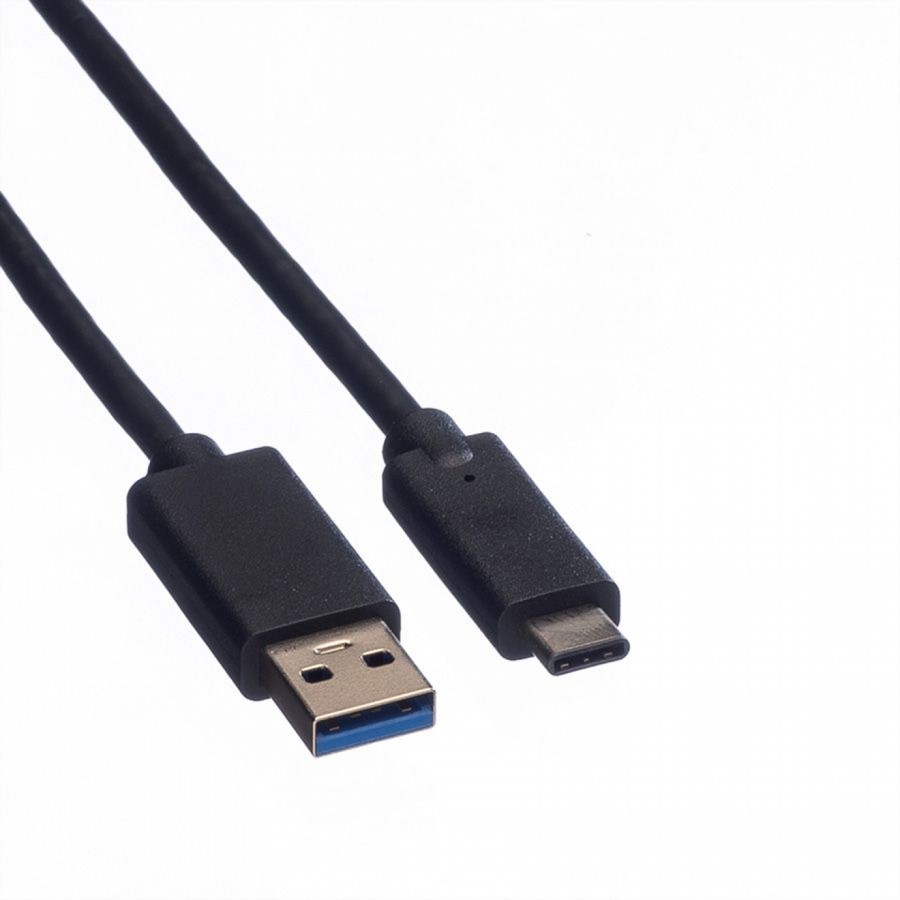 | 1 | |
| Jumper wires | male-female | 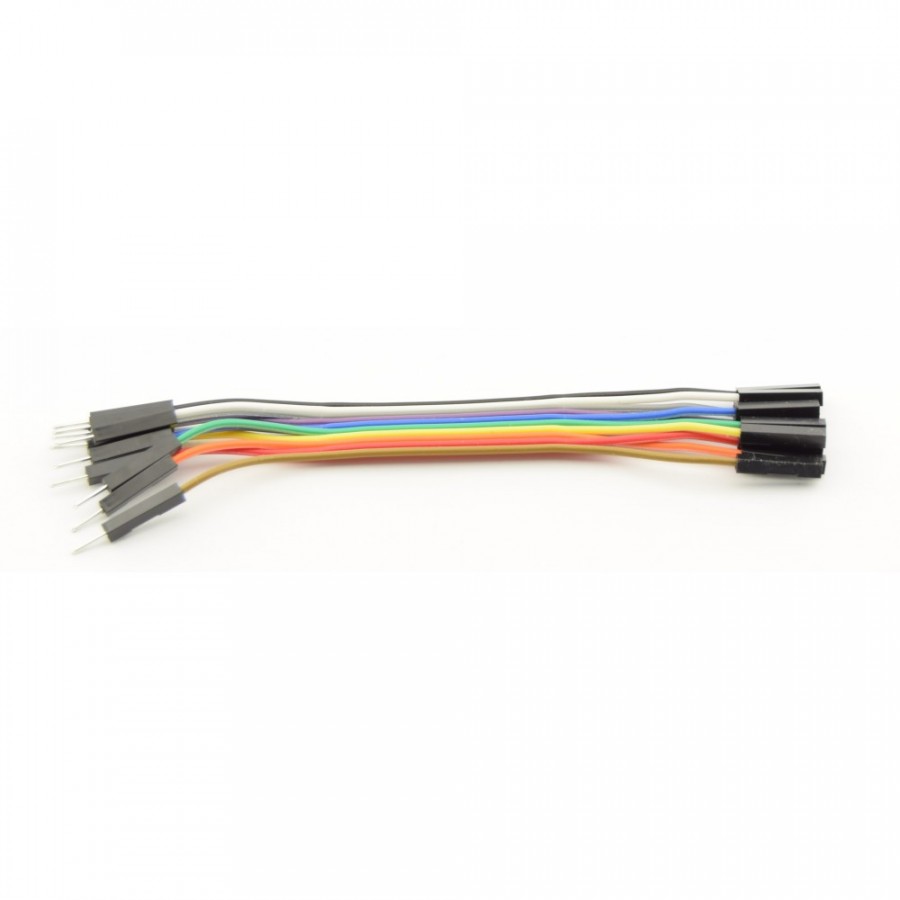 | 4 | |
| Motor driver | L298N |  | 1 | |
| Stepper motor | Nema17 | 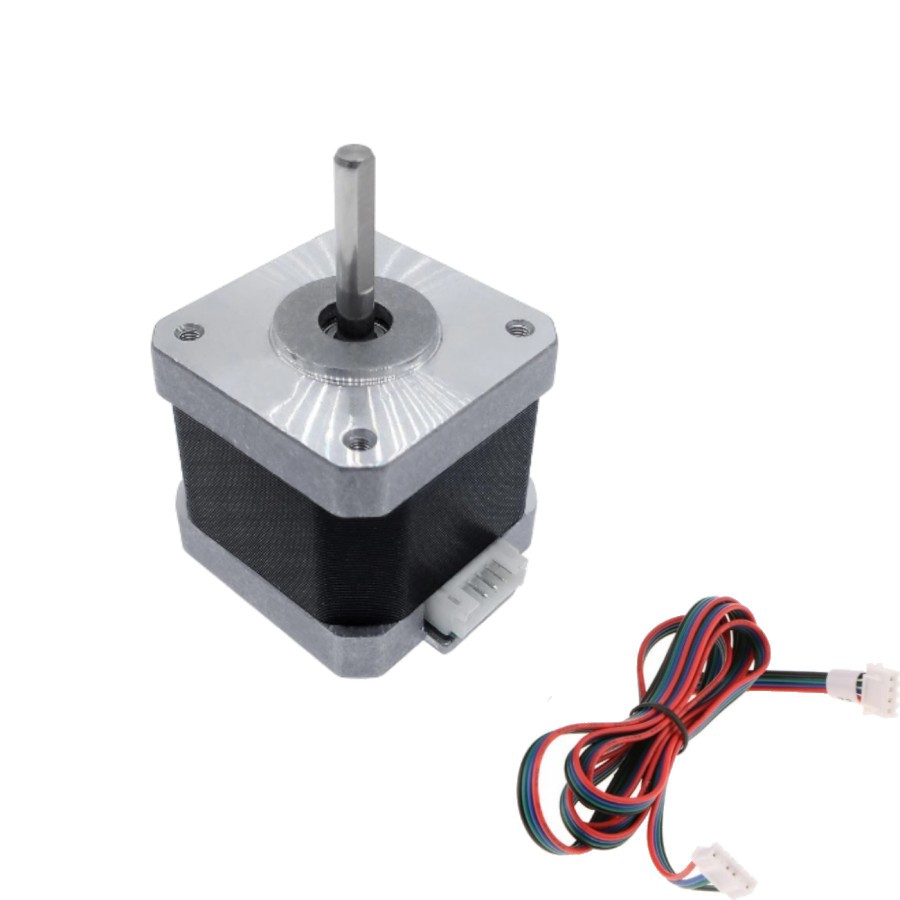 | 1 | |
| Power supply | 12V | 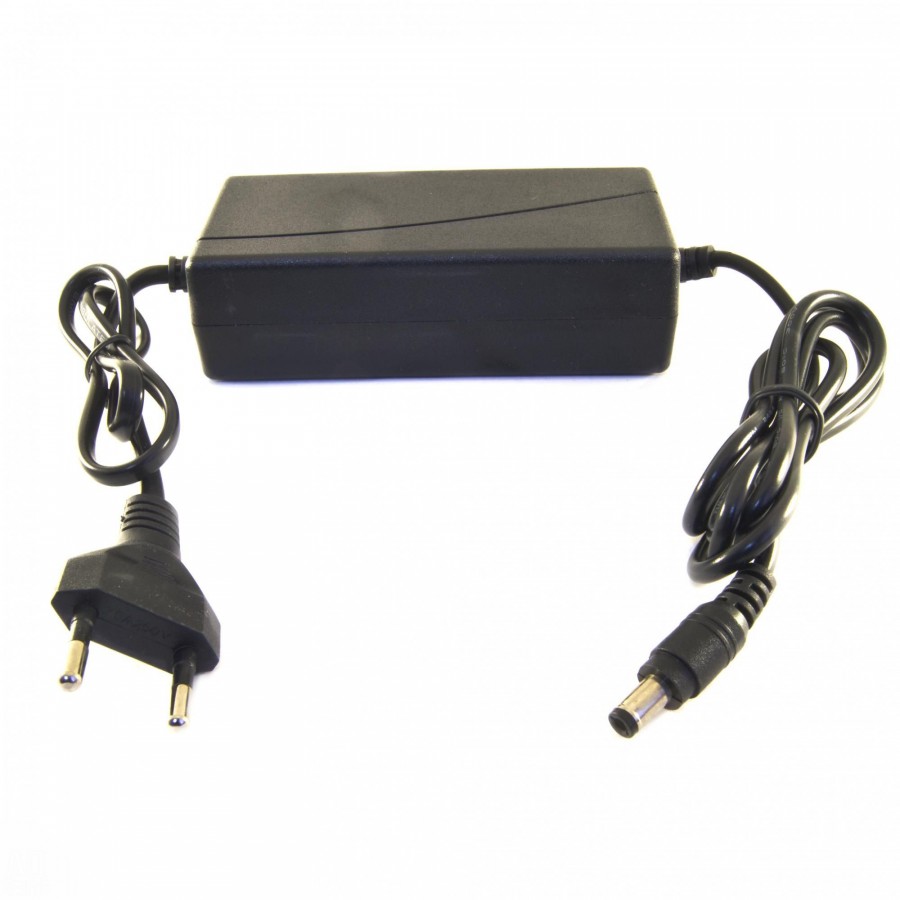 | 1 | |
| Adaptor | Female | 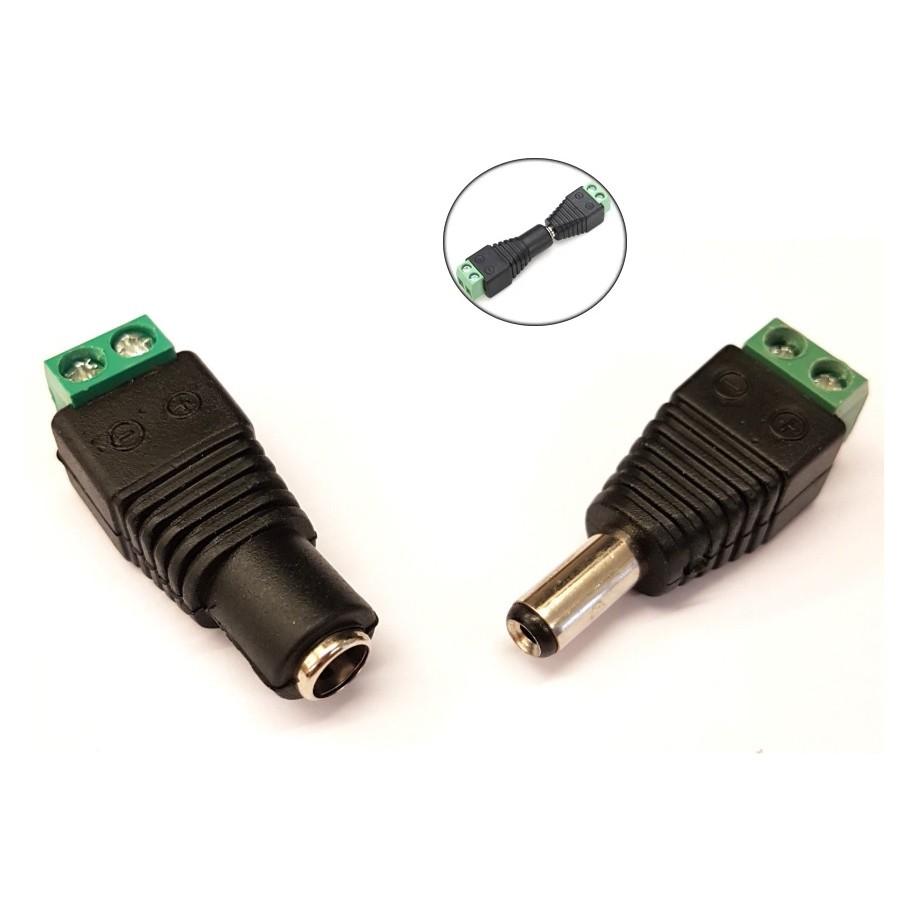 | 1 |
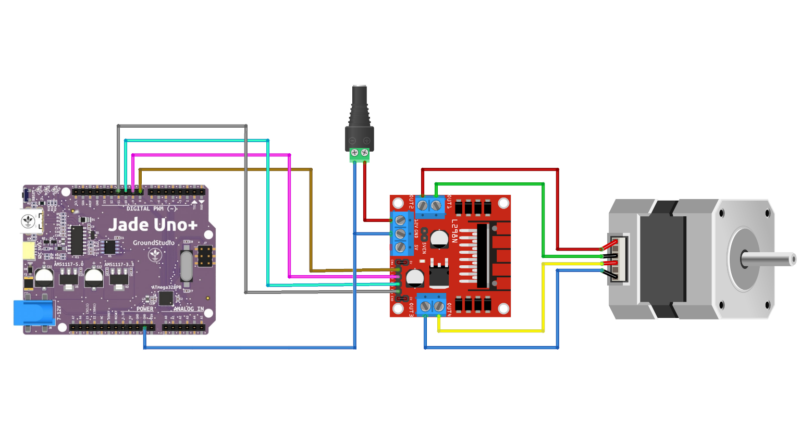
Circuit diagram

Connection table
| L298N motor driver | Connection |
| GND | Power connector and board’s GND |
| 12 V jumper | Remove if motor voltage > 12 V! |
| 5V+ (optional) | 5V board if 12 V jumper is removed |
| IN1 | Board’s pin 8 |
| IN2 | Board’s pin 9 |
| IN3 | Board’s pin 10 |
| IN4 | Board’s pin 11 |
| ENA and ENB jumper | Leave installed |
| OUT1 + OUT2 | Stepper motor coil A |
| OUT3 + OUT4 | Stepper motor coil B |
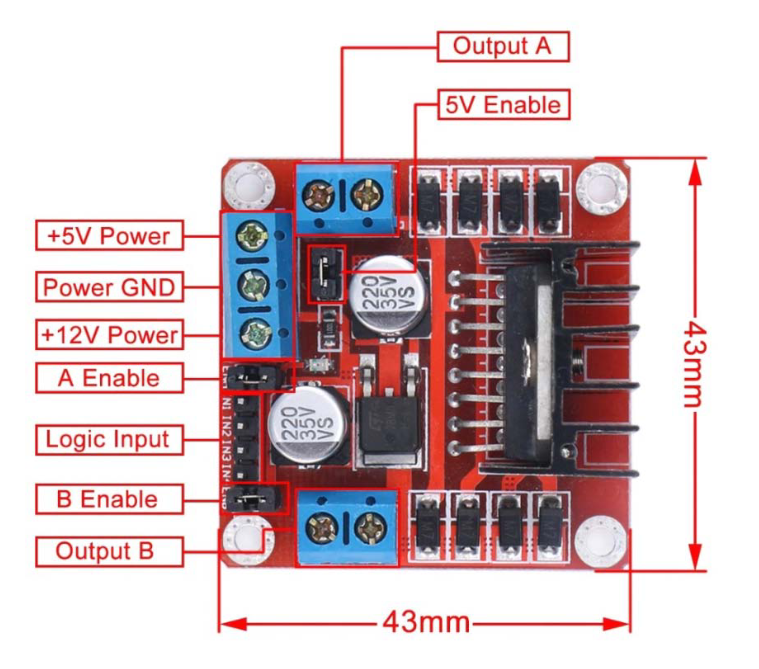
Important note: remove the +12V jumper if you are using a power supply higher than 12 V.
When the +12V jumper is attached, the on-board voltage regulator is enabled and it will create the 5 V logic voltage. When you remove the jumper, you need to provide the board with 5 V from the Arduino.
You also need to keep both the ENA and ENB jumpers in place so the the motor is always enabled.
Arduino code
You can upload the following example code to your Arduino using the Arduino IDE.
This example uses the Stepper.h library, which should come pre-installed with the Arduino IDE. You can find it by going to Sketch > Include Library > Stepper.
This sketch turns the stepper motor 1 revolution in one direction, pauses, and then turns 1 revolution in the other direction.
Stepper.h library example code for L298N driver with stepper motor and Arduino
/* Example sketch to control a stepper motor with L298N motor driver, a development board and Stepper.h library.

// Include the Stepper library:
#include <Stepper.h>

// Define number of steps per revolution:
const int stepsPerRevolution = 200;

// Initialize the stepper library on pins 8 through 11:
Stepper myStepper = Stepper(stepsPerRevolution, 8, 9, 10, 11);

void setup() {
  // Set the motor speed (RPMs):
  myStepper.setSpeed(100);
}

void loop() {
  // Step one revolution in one direction:
  myStepper.step(200);

  delay(2000);

  // Step one revolution in the other direction:
  myStepper.step(-200);

  delay(2000);
}
Code explanation
The sketch starts by including the Stepper.h Arduino library.
// Include the Stepper library:
#include <Stepper.h>
Next we need to define how many steps it takes for the motor to rotate 1 revolution. n this example we will be using the motor in full-step mode. This means it takes 200 steps to rotate 360 degrees. You can change this value if you want if you are using a different type of stepper motor or setup.
// Define number of steps per revolution:
const int stepsPerRevolution = 200;
After this, you need to create a new instance of the Stepper class, which represents a particular stepper motor connected to the Arduino. For this we use the function Stepper(steps, pin1, pin2, pin3, pin4) where steps is the number of steps per revolution and pin1 through pin4 are the pins used to drive the stepper motor. In our case these are pins 8, 9, 10 and 11.
// Initialize the stepper library on pins 8 through 11:
Stepper myStepper = Stepper(stepsPerRevolution, 8, 9, 10, 11);
In this case I called the stepper motor ‘myStepper’ but you can use other names as well, like ‘z_motor’ or ‘liftmotor’ etc. Stepper liftmotor = Stepper(stepsPerRevolution, 8, 9, 10, 11);. The name ‘myStepper’ will be used to set the speed and number of steps for this particular motor. Note that you can create multiple stepper objects with different names if you want to control more than one motor.
In the setup() we define the speed of the motor. You can set the speed of the motor in RPM with the function setSpeed(rpm). I set it to 100, so we should see around 1.6 revolutions per second.
 // Set the motor speed (RPMs):
  myStepper.setSpeed(100);
In the loop section of code, we simply call the step(steps) function which turns the motor a specific number of steps at a speed determined by the setSpeed(rpm) function. Passing a negative number to this function reverses the spinning direction of the motor.
void loop() {
  // Step one revolution in one direction:
  myStepper.step(200);

  delay(2000);

  // Step on revolution in the other direction:
  myStepper.step(-200);

  delay(2000);
}
Note that the step(steps) function is blocking, this means it will wait until the motor has finished moving to pass control to the next line in your sketch.
Application and uses
Stepper motors are widely used in various applications that require precise control of rotational motion. Here’s a brief description of some common stepper motor applications:
- 3D Printing: Stepper motors are used to control the movement of the print head and build platform in 3D printers, enabling precise layer-by-layer printing.
- CNC Machines: Stepper motors drive the movement of cutting tools and workpieces in computer numerical control (CNC) machines, ensuring accurate machining operations.
- Robotics: Stepper motors play a critical role in the movement and positioning of robot arms, joints, and other components, allowing for precise and controlled motion.
- Textile Machinery: In textile industry machinery, stepper motors control the movement of various elements like spindles, rollers, and fabric feeders, enabling intricate fabric patterns.
- Camera and Photography Equipment: Stepper motors are used in autofocus mechanisms, zoom lenses, and camera panning systems for accurate positioning and movement control.
- Medical Devices: Stepper motors are found in medical imaging equipment, such as MRI machines and CT scanners, where precise motion is vital for high-quality imaging.
- Automated Systems: Stepper motors are used in automated systems for tasks like conveyor belt control, packaging, and material handling.
- Telescopes and Astronomy: Stepper motors enable precise tracking and positioning in telescopes, equatorial mounts, and other astronomy equipment.
- Biotechnology and Laboratory Equipment: Stepper motors are used in laboratory automation, such as pipetting and sample handling in medical and biotech research.
- Consumer Electronics: Stepper motors are found in various consumer devices, including DVD drives, 3D printers, and home automation systems.
- Automotive: In the automotive industry, stepper motors are used in systems like fuel injection, HVAC controls, and headlamp positioning.
- Security Systems: Stepper motors control movements in security cameras, pan-tilt-zoom (PTZ) systems, and access control systems.
Stepper motors are favored for their ability to move in precise, discrete steps, making them suitable for applications where accuracy and control are essential. Their versatility and reliability make them a key component in various industries.

