
L298N - Controlul motoarelor pas cu pas
Introducere
Motoarele pas cu pas se găsesc în aplicații extinse în diverse domenii, inclusiv în mașini de cusut, prese pentru tipărire, dispozitive de imagistică medicală, mașini CNC și multe alte tipuri de echipamente. Cu toate acestea, controlul eficient al motoarelor pas cu pas necesită o înțelegere aprofundată, deoarece fiecare mașină necesită adesea proiectare și gestionare personalizate. Pentru a aborda această provocare, s-au dezvoltat o serie de drivere pentru motoare, îmbunătățind precizia și controlul motoarelor cu curent continuu prin intermediul microcontrolerelor precum Arduino.
În acest tutorial, vom demonstra interconectarea unui motor pas cu pas cu un driver de motor L298N, folosind o placă de dezvoltare.
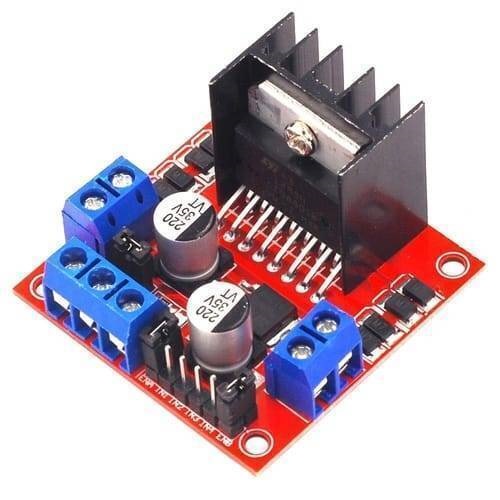
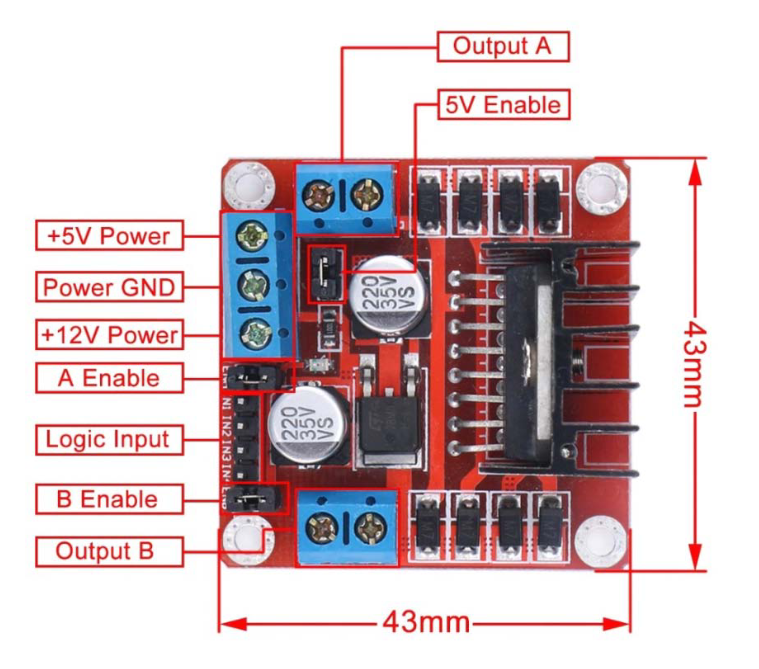
Modulul Driver de Motor L298N constă într-un circuit integra L298N și un regulator de tensiune 78M05. Regulatorul de tensiune 78M05 se activează numai atunci când este plasat un jumper. Atunci când tensiunea sursei de alimentare este de 12V sau mai mică, regulatorul de tensiune furnizează energie circuitului intern, iar pinul 5V poate fi folosit ca ieșire pentru a alimenta microcontrolerul. În cazurile în care tensiunea sursei de alimentare depășește 12V, jumper-ul trebuie înlăturat, iar o sursă separată de 5V trebuie conectată la conectorul 5V pentru a alimenta circuitul intern.
L298N stepper motor driver
Hardware necesar
| Nume | Detalii | Imagine | Cantitate | |
| Jade Uno+ GroundStudio | 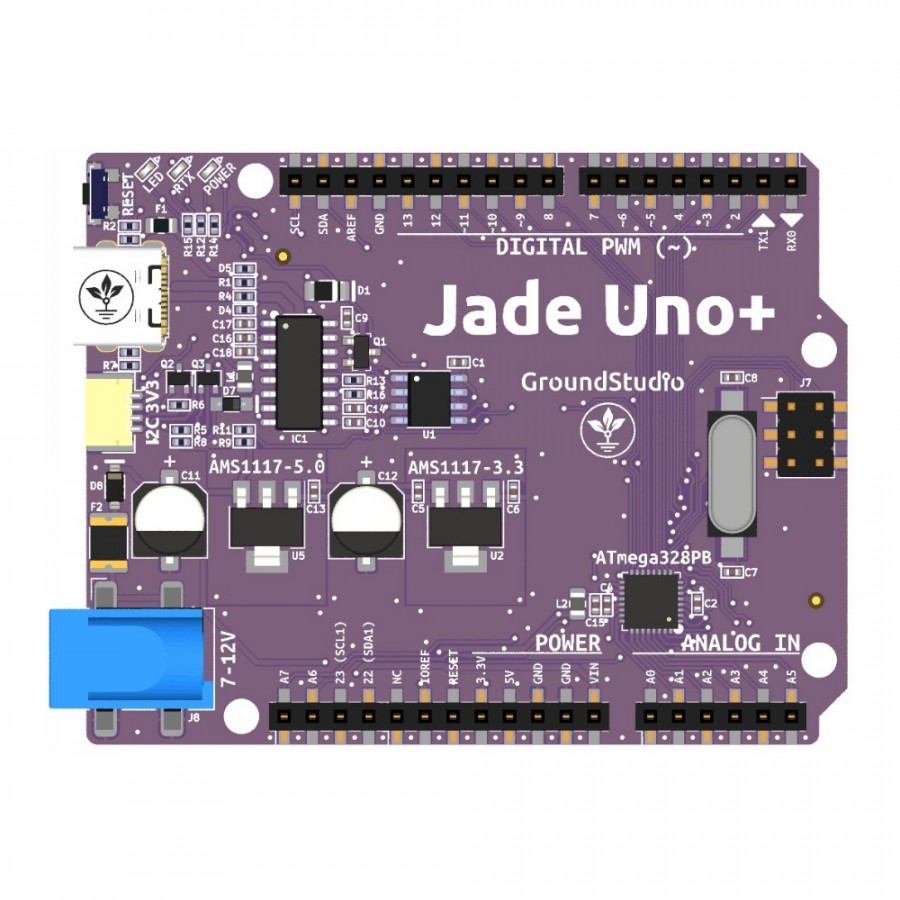 | 1 | ||
| Cablu USB | Type C | 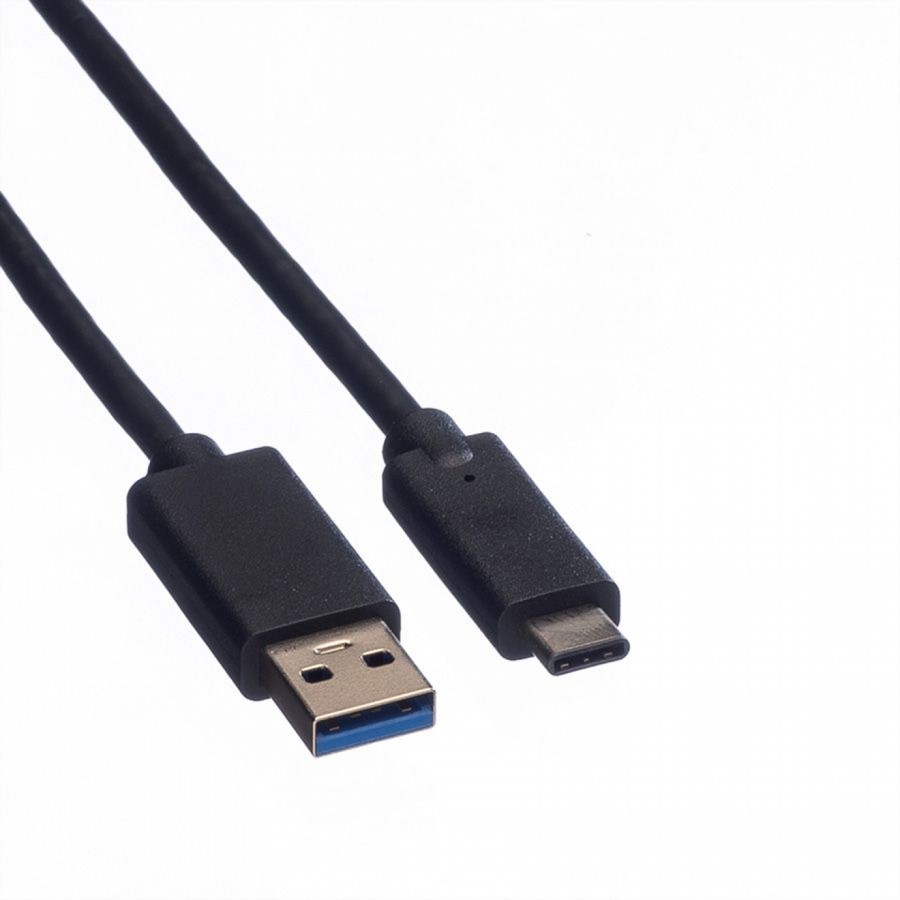 | 1 | |
| Fire jumper | mamă-tată | 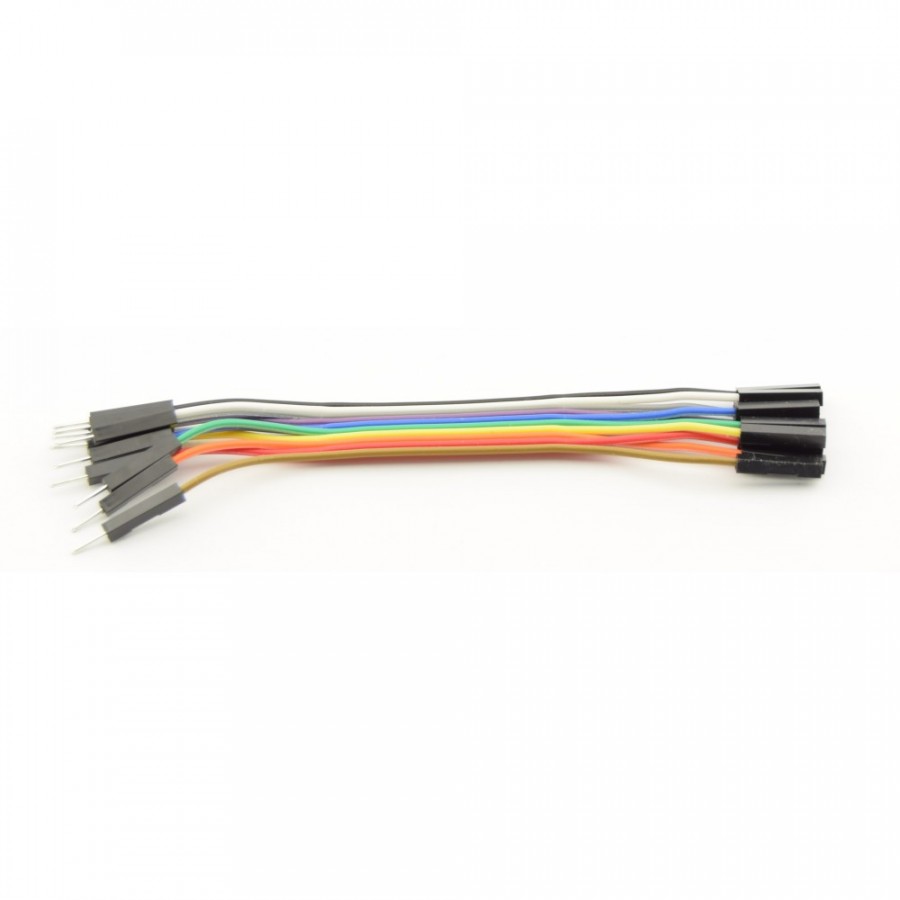 | 4 | |
| Driver de motor | L298N | | 1 | |
| Motor pas cu pas | Nema17 | 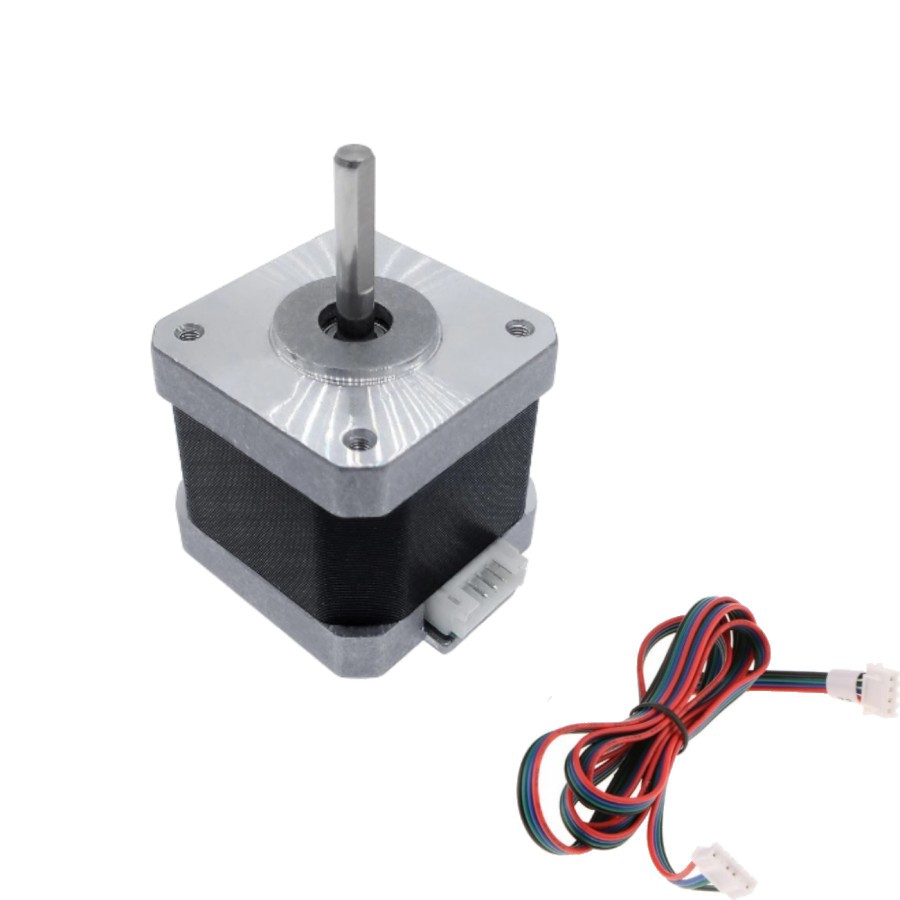 | 1 | |
| Sursă de alimentare | 12V | 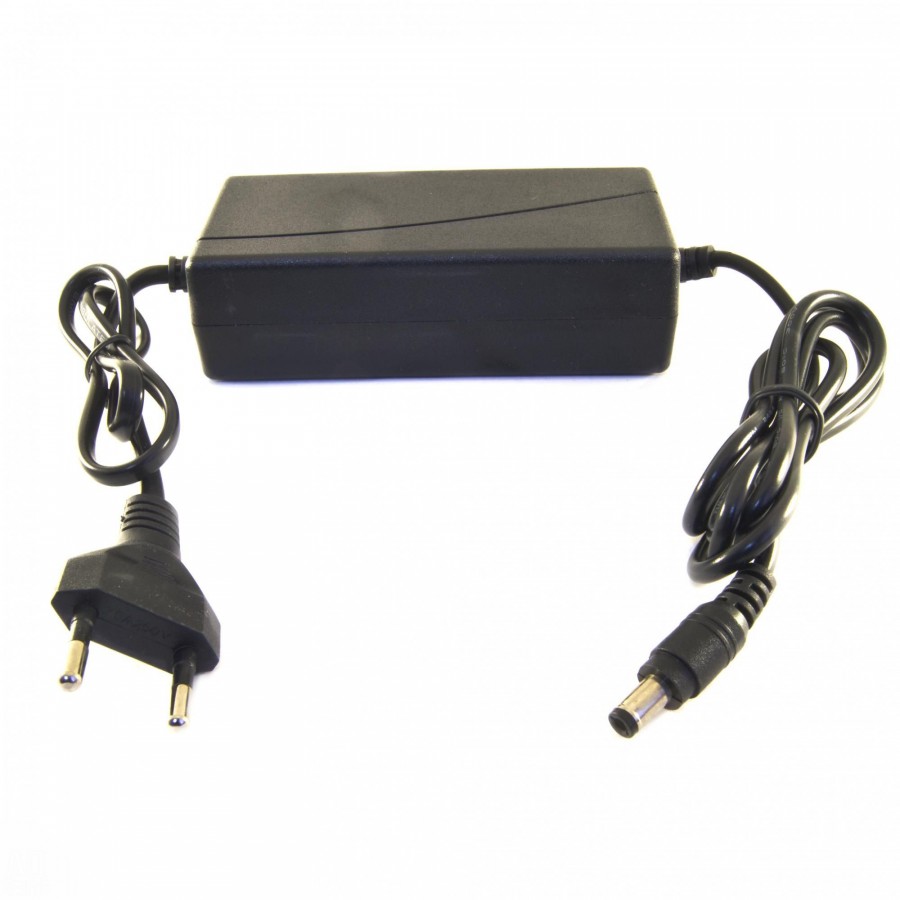 | 1 | |
| Adaptor | mamă | 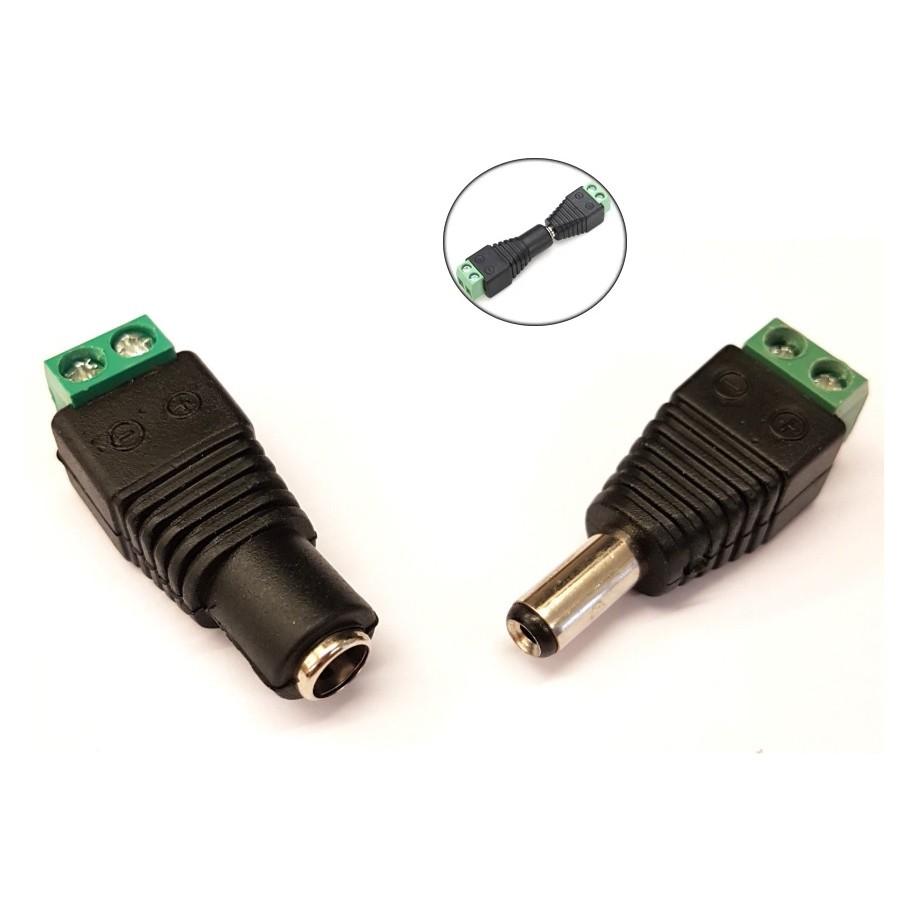 | 1 |
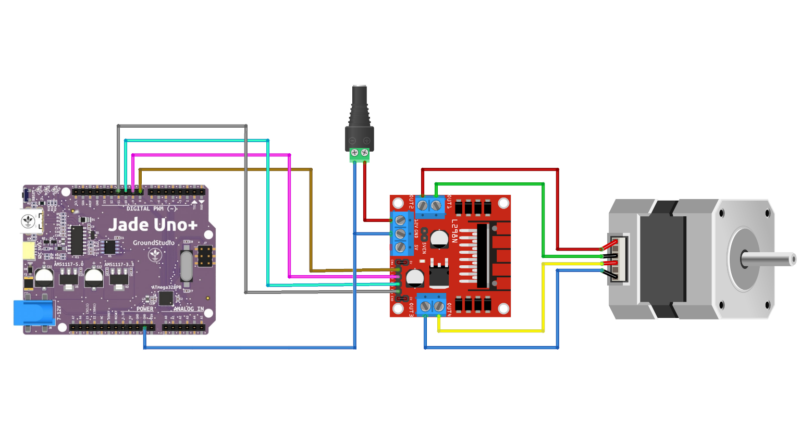
Diagrama circuitului

Tabelul de conexiuni
| L298N driver de motor | Conexiune |
| GND | Conectorul de alimentare si GND-ul plăcuței |
| jumper 12V | Remove if motor voltage > 12 V! |
| 5V+ (optional) | 5V-ul plăcuței, dacă jumperul de 12V e scos |
| IN1 | Pinul 8 al plăcuței |
| IN2 | Pinul 9 al plăcuței |
| IN3 | Pinul 10 al plăcuței |
| IN4 | Pinul 11 al plăcuței |
| Jumperul ENA și ENB | Instalat |
| OUT1 + OUT2 | Bobina A a motorului |
| OUT3 + OUT4 | Bobina B a motorului |
Notă importantă: scoateți jumperul de +12V dacă utilizați o sursă de alimentare cu o tensiune mai mare de 12 V.
Când jumper-ul +12V este conectat, regulatorul de tensiune de pe modul este activat și va furniza tensiunea logică de 5 V. Când înlăturați jumper-ul, trebuie să furnizați modulului 5V de la Arduino.
De asemenea, trebuie să păstrați jumper-ele ENA și ENB montate pentru a vă asigura că motorul este întotdeauna activat.
Codul Arduino
Puteți încărca următorul cod de exemplu pe placă folosind: Arduino IDE.
Acest exemplu utilizează librăria Stepper.h care ar trebui să fie preinstalată în mediul Arduino IDE. O puteți găsi mergând la Sketch > Include Library > Stepper.
Acest sketch rotește motorul pas cu pas cu o revoluție într-o direcție, face o pauză și apoi rotește o revoluție în cealaltă direcție.
Codul de exemplu al bibliotecii Stepper.h pentru driverul L298N pentru motor pas cu pas și Arduino
/* Example sketch to control a stepper motor with L298N motor driver, a development board and Stepper.h library.

// Include the Stepper library:
#include <Stepper.h>

// Define number of steps per revolution:
const int stepsPerRevolution = 200;

// Initialize the stepper library on pins 8 through 11:
Stepper myStepper = Stepper(stepsPerRevolution, 8, 9, 10, 11);

void setup() {
  // Set the motor speed (RPMs):
  myStepper.setSpeed(100);
}

void loop() {
  // Step one revolution in one direction:
  myStepper.step(200);

  delay(2000);

  // Step one revolution in the other direction:
  myStepper.step(-200);

  delay(2000);
}
Explicarea codului
The sketch starts by including the Stepper.h Arduino library.
// Include the Stepper library:
#include <Stepper.h>
Următorul pas constă în definirea numărului de pași necesari pentru ca motorul să execute o revoluție completă. În acest exemplu, vom folosi motorul în full-step mode. Acest lucru înseamnă că sunt necesari 200 de pași pentru a roti motorul cu 360 de grade. Puteți schimba această valoare dacă utilizați un alt tip de motor pas cu pas sau o altă configurație.
// Define number of steps per revolution:
const int stepsPerRevolution = 200;
Apoi, trebuie să creați o nouă instanță a clasei Stepper, care reprezintă un anumit motor pas cu pas conectat la Arduino. Pentru aceasta, folosim funcția Stepper(steps, pin1, pin2, pin3, pin4) unde steps este numărul de pași per revoluție și pin1 până la pin4 sunt pinii utilizați pentru a controla motorul pas cu pas. În cazul nostru, aceștia sunt pinii 8, 9, 10 și 11.
// Initialize the stepper library on pins 8 through 11:
Stepper myStepper = Stepper(stepsPerRevolution, 8, 9, 10, 11);
În acest caz, am numit motorul pas cu pas "myStepper", dar puteți folosi și alte denumiri, cum ar fi "z_motor" sau "liftmotor", etc. Stepper liftmotor = Stepper(stepsPerRevolution, 8, 9, 10, 11);Numele "myStepper" va fi utilizat pentru a seta viteza și numărul de pași pentru acest motor în particular. Rețineți că puteți crea mai multe obiecte stepper cu denumiri diferite dacă doriți să controlați mai multe motoare.
În setup() definim viteza motorului. Puteți seta viteza motorului în RPM cu funcția setSpeed(rpm). O voi seta la 100, așadar ar trebui să vedem aproximatix 1.6 rotații pe secunda
 // Set the motor speed (RPMs):
  myStepper.setSpeed(100);
În secțiunea loop a codului, apelăm pur și simplu step(steps) funcția care rotește motorul cu un număr specific de pași la o viteză determinată de funcția setSpeed(rpm) .Transmiterea unui număr negativ la această funcție inversează direcția de rotație a motorului.
void loop() {
  // Step one revolution in one direction:
  myStepper.step(200);

  delay(2000);

  // Step on revolution in the other direction:
  myStepper.step(-200);

  delay(2000);
}
Țineți cont că funcția step(steps) function is blocking, this means it will wait until the motor has finished moving to pass control to the next line in your sketch.
Aplicații și utilizări
Motoarele pas cu pas sunt utilizate pe scară largă în diverse aplicații care necesită control precis al mișcării de rotație. Iată o scurtă descriere a unor aplicații comune ale motoarelor pas cu pas:
- Imprimare 3D: Motoarele pas cu pas sunt folosite pentru a controla mișcarea capului de imprimare și a platformei de construcție în imprimantele 3D, asigurând imprimarea strat cu strat cu precizie.
- Mașini CNC:Motoarele pas cu pas conduc mișcarea sculelor de tăiere și a pieselor de lucru în mașinile de control numeric computerizat (CNC), asigurând operații de prelucrare precise.
- Robotică:Motoarele pas cu pas joacă un rol crucial în mișcarea și poziționarea brațelor, articulațiilor și altor componente ale roboților, permițând mișcare precisă și controlată.
- Mașinării pentru textile:În industria textilă, motoarele pas cu pas controlează mișcarea diverselor elemente, precum fusurile, rolele și dispozitivele de alimentare a țesăturilor, permițând crearea de modele de țesături complexe.
- Echipamente pentru Fotografie și Camere Video:Motoarele pas cu pas sunt folosite în mecanismele de focalizare automată, lentilele cu zoom și sistemele de panoramare a camerelor, asigurând poziționarea și mișcarea precise.
- Aparatură medicală:Motoarele pas cu pas se găsesc în echipamentele de imagistică medicală, precum aparatele de rezonanță magnetică (MRI) și tomografele computerizate (CT), unde mișcarea precisă este esențială pentru imagini de înaltă calitate.
- Sisteme automate:Motoarele pas cu pas sunt utilizate în sisteme automate pentru sarcini precum controlul benzilor transportoare, ambalarea și manipularea materialelor.
- Telescoape și Astronomie:Motoarele pas cu pas permit urmărirea și poziționarea precise în telescoape, monturi ecuatoriale și alte echipamente de astronomie.
- Biotehnologie și Echipamente de Laborator:Motoarele pas cu pas sunt utilizate în automatizarea laboratoarelor, cum ar fi pipetarea și manipularea probelor în cercetarea medicală și biotehnologie.
- Motoarele pas cu pas se găsesc în diferite dispozitive pentru consumatori, inclusiv unitățile de DVD, imprimantele 3D și sistemele de automatizare a locuinței.: Stepper motors are found in various consumer devices, including DVD drives, 3D printers, and home automation systems.
- Automotive: Motoarele pas cu pas controlează mișcarea în camerele de securitate, sistemele pan-tilt-zoom (PTZ) și sistemele de control al accesului.
- Sisteme de Securitate: Motoarele pas cu pas controlează mișcarea în camerele de securitate, sistemele pan-tilt-zoom (PTZ) și sistemele de control al accesului.
Motoarele pas cu pas sunt apreciate pentru abilitatea lor de a se deplasa în pași preciși și discreți, ceea ce le face potrivite pentru aplicații în care exactitatea și controlul sunt esențiale. Versatilitatea și fiabilitatea lor le fac componente-cheie în diverse industrii.